Samuel Laroche-Pagé posted these excellent photos and guides to repairing your nails using the famous ping-pong ball method for classical guitar. He kindly agreed to let me share the photos and text here. Extra bonus is that it’s in French and English. Before I do, however, please check out Samuel’s other great online content:
All photos and text by Samuel Laroche-Pagé.
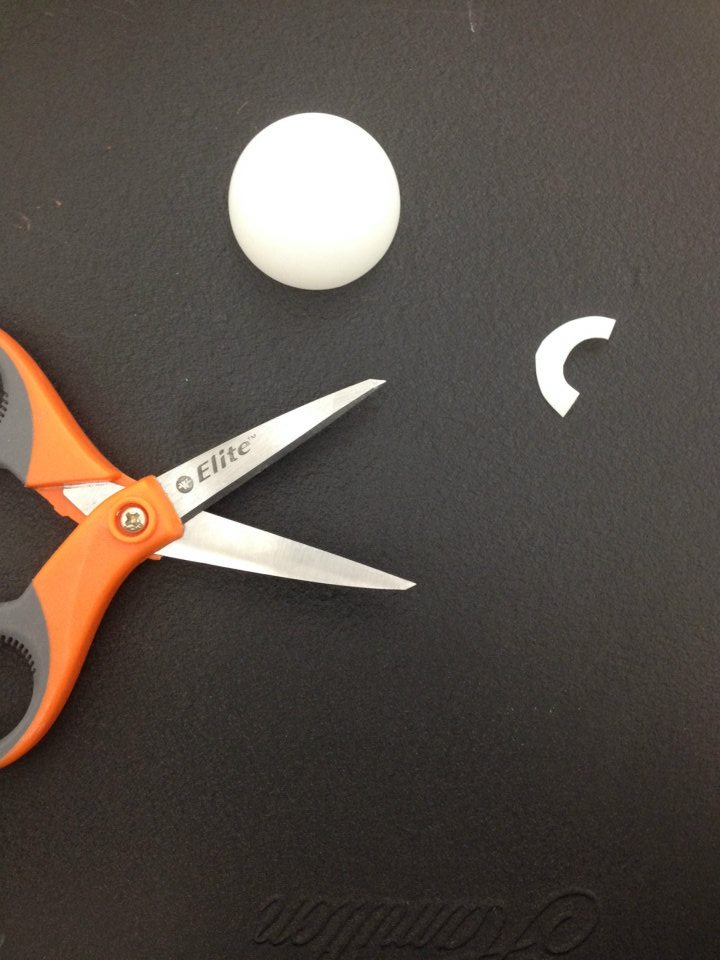
Avant-tout:
Pour faire ceci, vous devez au préalable avoir un ongle… Ce renforcement est uniquement possible en collant la balle de Ping-Pong en dessous de l’ongle.. De cette façon vous n’endommager pas votre cuticule.
To know before: You need to have a nail to do this operation. This reinforcement will only work if you have a nail. It make it stronger and prevent any damage to your cuticle.
Étape 1: Couper une pièce de la balle de Ping-Pong avec un ciseau de la forme de votre ongle. Bien tailler la courbe pour qu’elle épouse bien votre ongle.
Step 1: Cut a piece of the Ping-Pong ball the shape of your nail and flesh. Be sure it fit’s perfectly.
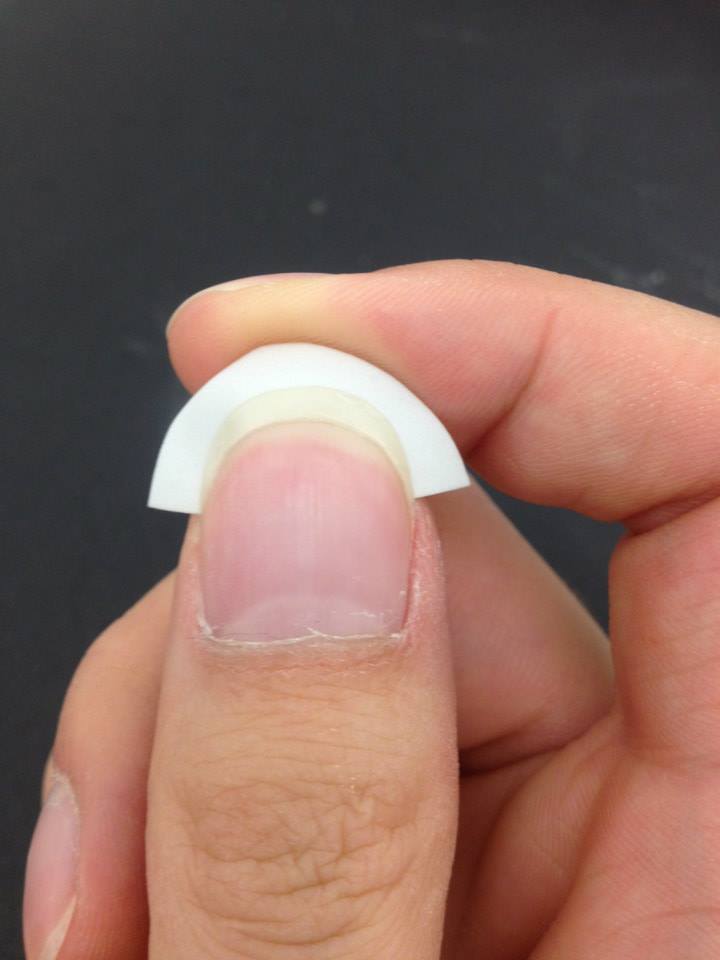
Étape 2: Le morceau doit être confortable et être précisément de la forme de votre doigt.
Step 2: The Ping-Pong ball need to fit comfortably and fir precisely your finger.
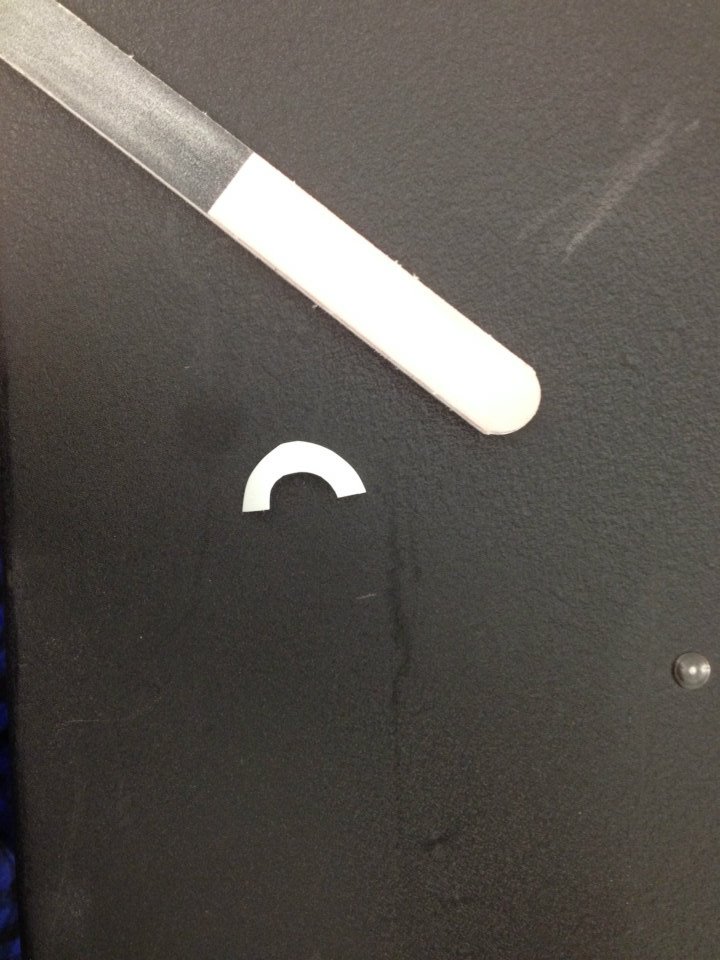
Étape 3: Limer le morceau affin qu’il soit lisse et sans imperfections.
Step 3: Buff the piece so it will be thiner and smooth under your nail.
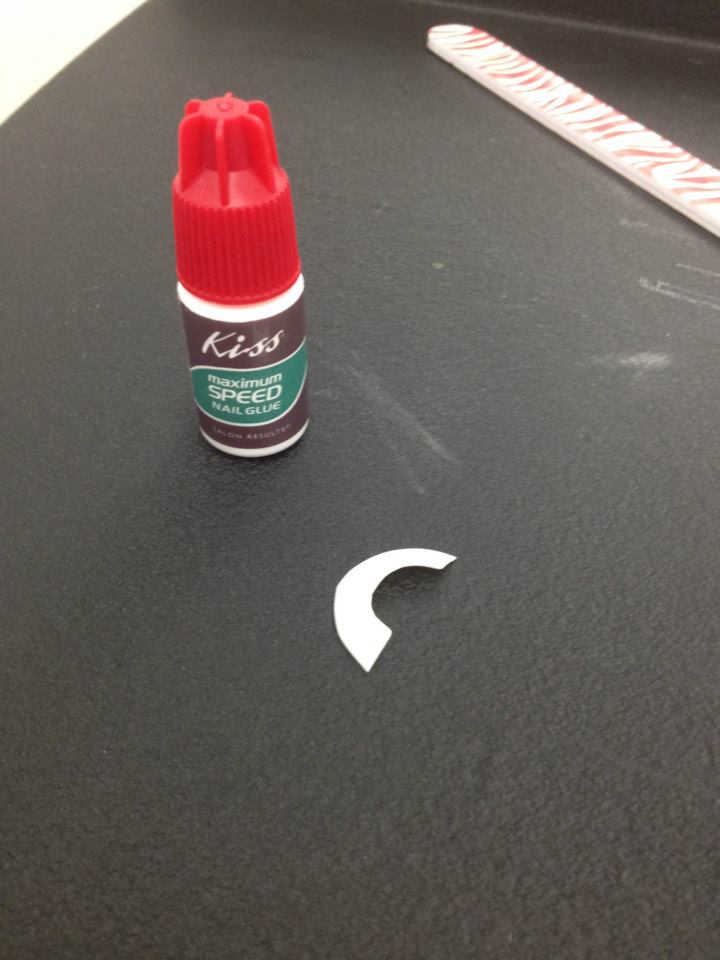
Étape 4: Coller le morceau avec de la Crazy Glue ou de la colle à ongle de pharmacie.
Step 4: Glue the piece with Crazy Glue or Nail glue.
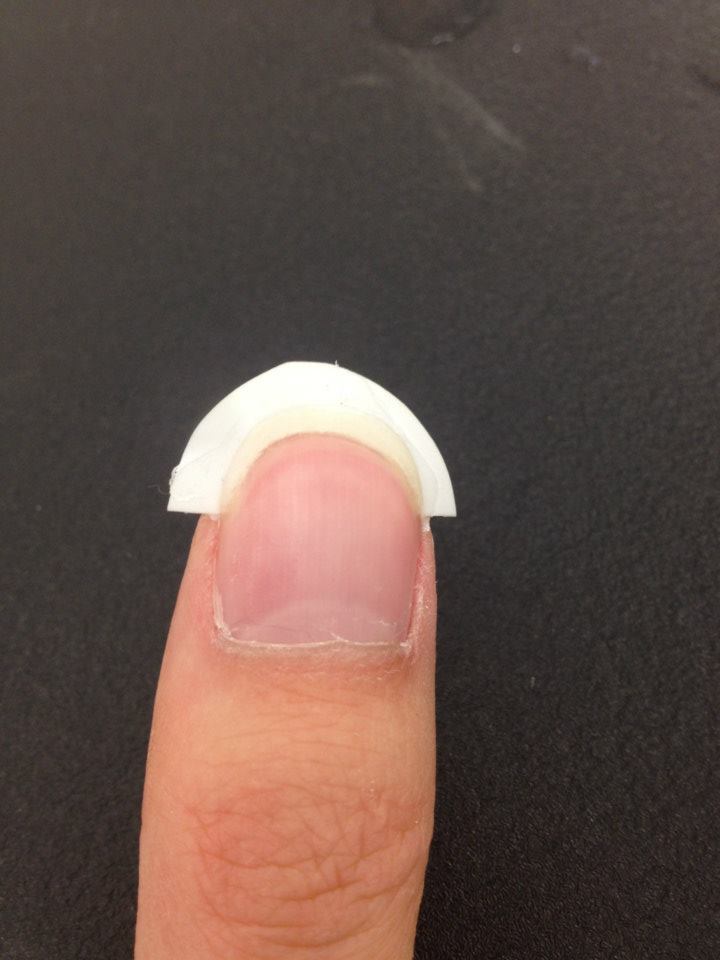
Étape 5: Soyez certain que le morceau est collé bien parfaitement. Ajoutez de la colle afin de boucher tout les trous d’air.
Step 5: Be sure the piece is well glued under your nail. And glue in any “air spots”.
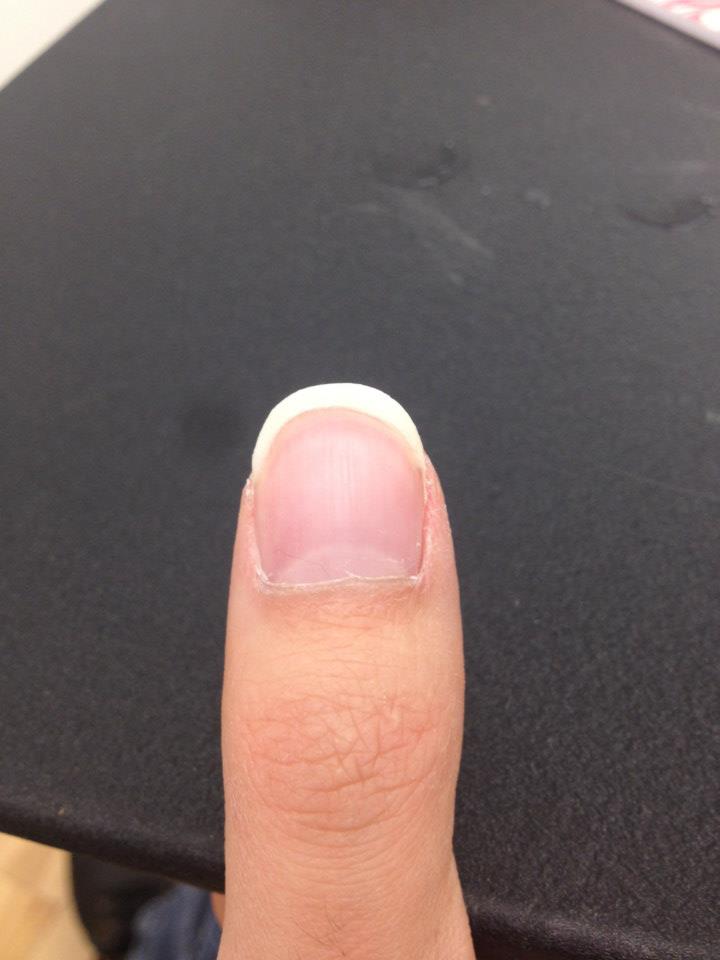
Étape 6: ATTENDRE 10-15 MINUTES ! Ensuite, couper le surplus avec un coupe-ongle.
Step 6: WAIT 10-15 MINUTES ! Next, cut the rest with a nail cutter.
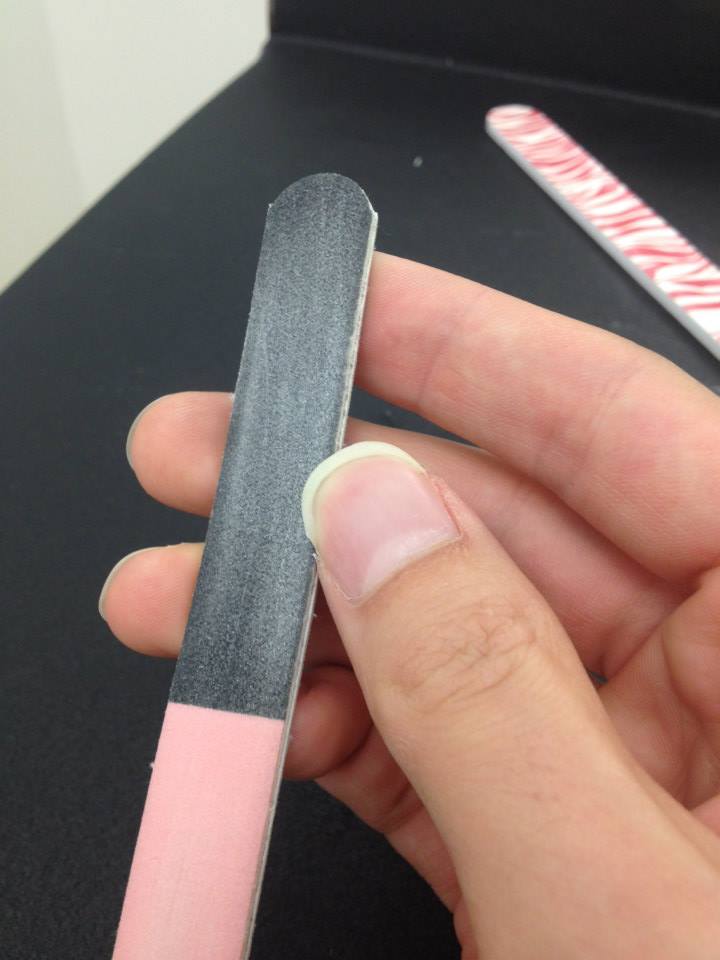
Étape 7: Limer le surplus restant avec une lime à ongle. Assurez-vous que la surface est lisse et que la “shape” soit à votre gout.
Step 7: Buff the rest off the Ping-Pong pieces. Do the shape that you need.
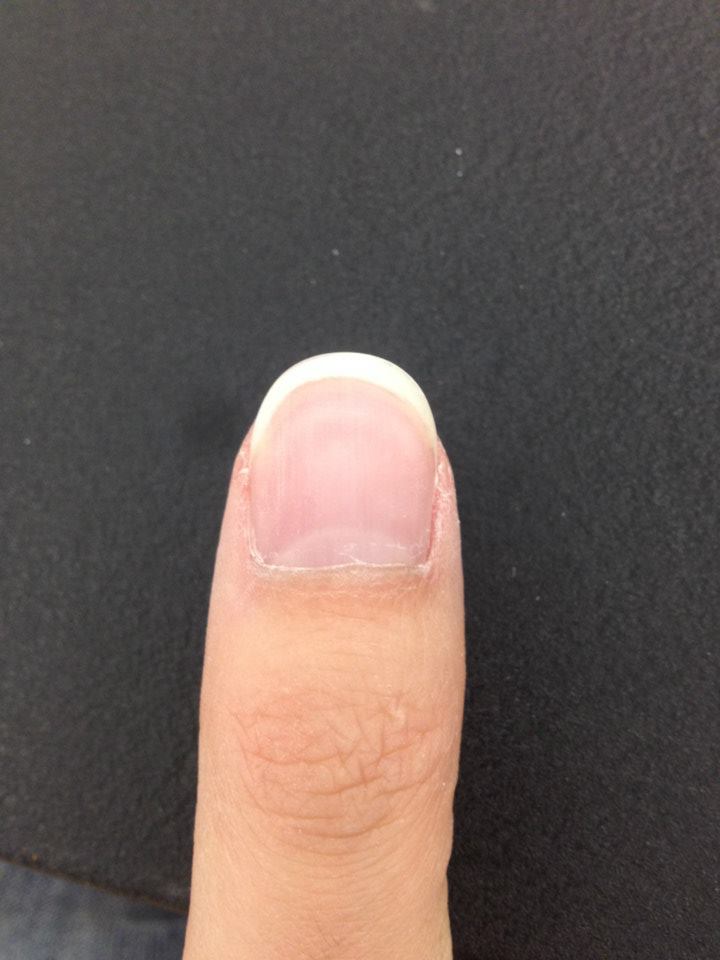
Terminé!
Finished!
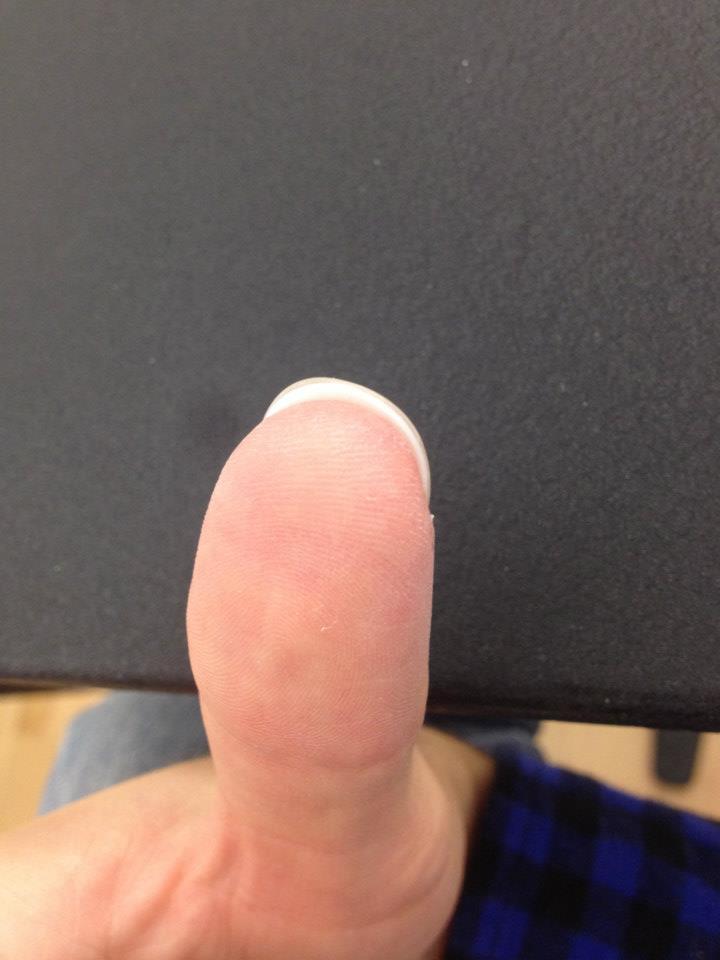
La balle de ping-pong va rester en place une semaine environ. Vous pouvez ajouter de la colle dans les coins de temps en temps.
The piece will stay in place for a week or so. You can add some glue on the corners sometimes.
Thank You Samuel!
Big thanks again to Samuel Laroche-Pagé for letting me share the photos and text here. Don’t forget to check him out online!
Website: samuellarochepage.com
Subscribe to him on YouTube: youtube.com/user/samuellarochepage
Related Articles:
- Fingernails for Classical Guitar: How I Shape My Nails (from this site)
- Christopher Davis on guitar nails, includes a video (external)
- Davis: Classical Guitar Fingernail Basics (external)
- Rob Reid on Playing The Classical Guitar Without Nails (external)
- Davis: Damage Control: Salvaging Torn Fingernails (external)
- Jim Doyle on Ping Pong Repair (external)

Merci Bien!
A great tip, physically and metaphorically! I imagine you can even use it in advance of any damage to your nail, a sort of pre-emptive re-inforcement.
PT
super job!